
HubSpot Integration Guide for Reflys
1. Go to Settings > Integrations (under Extensions).
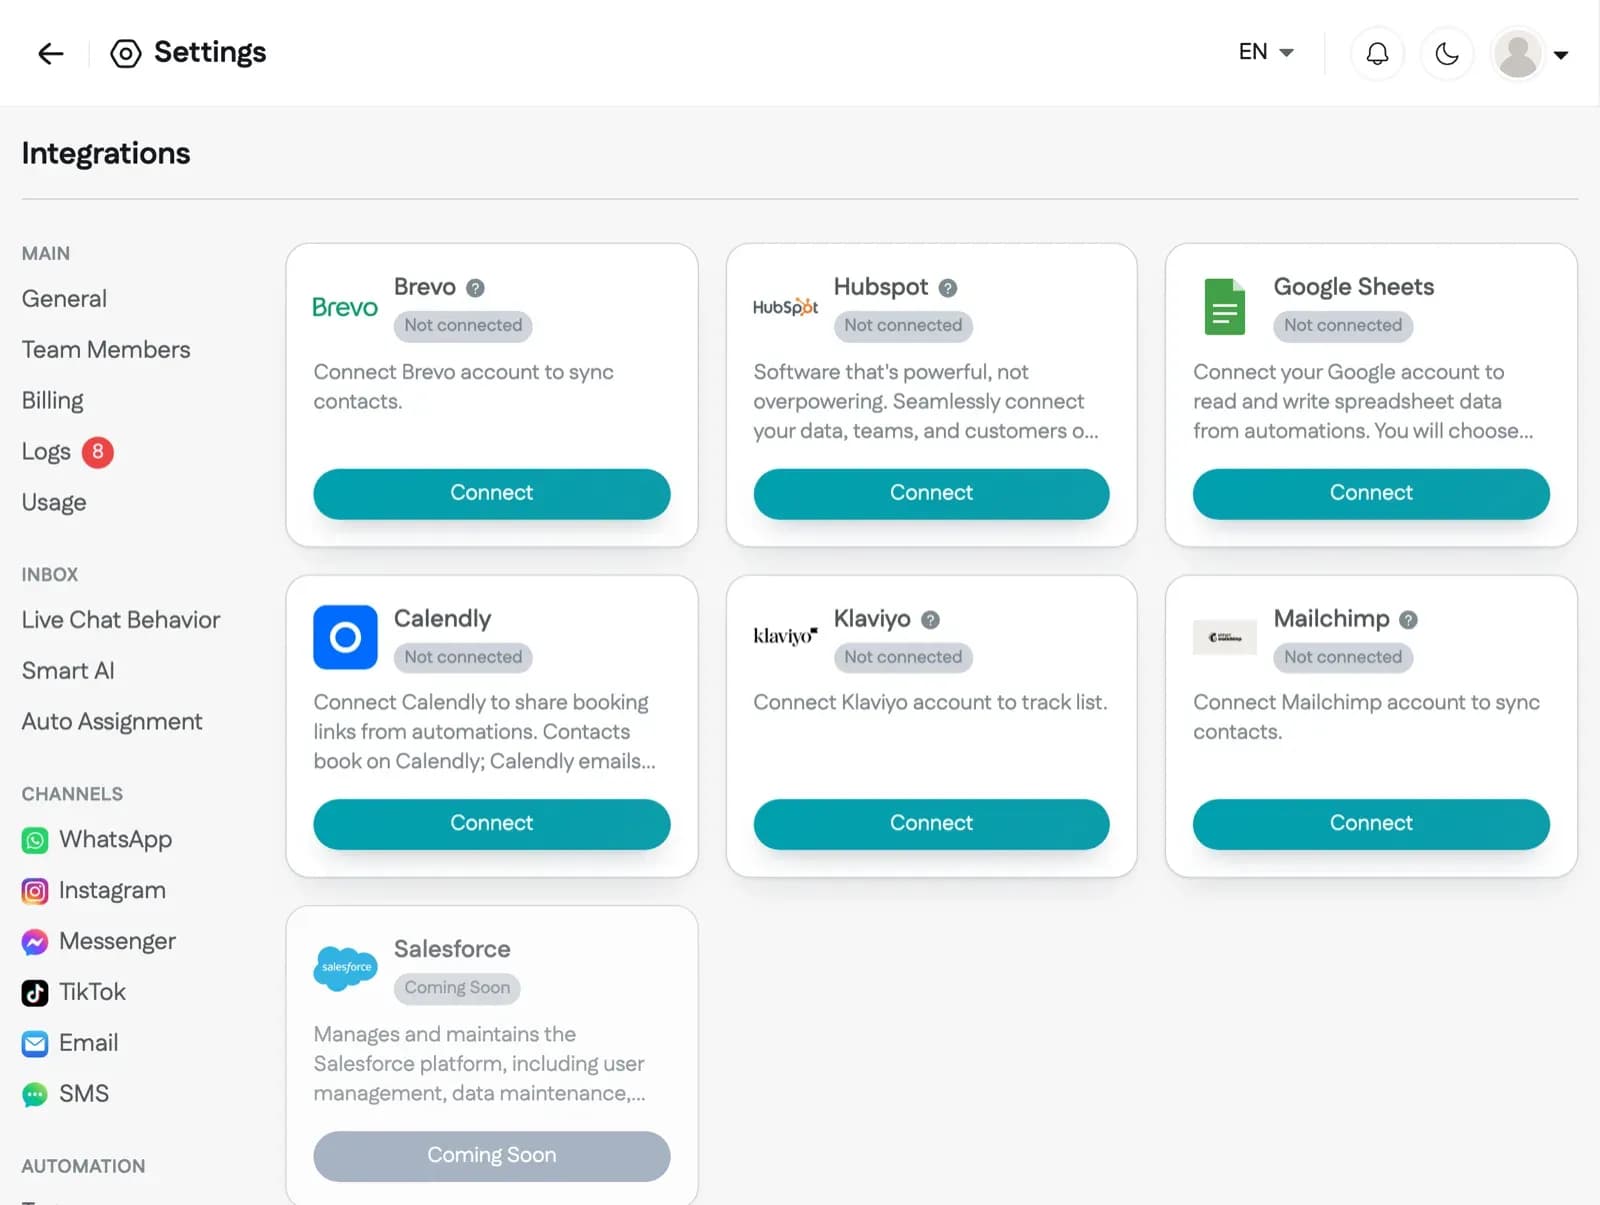
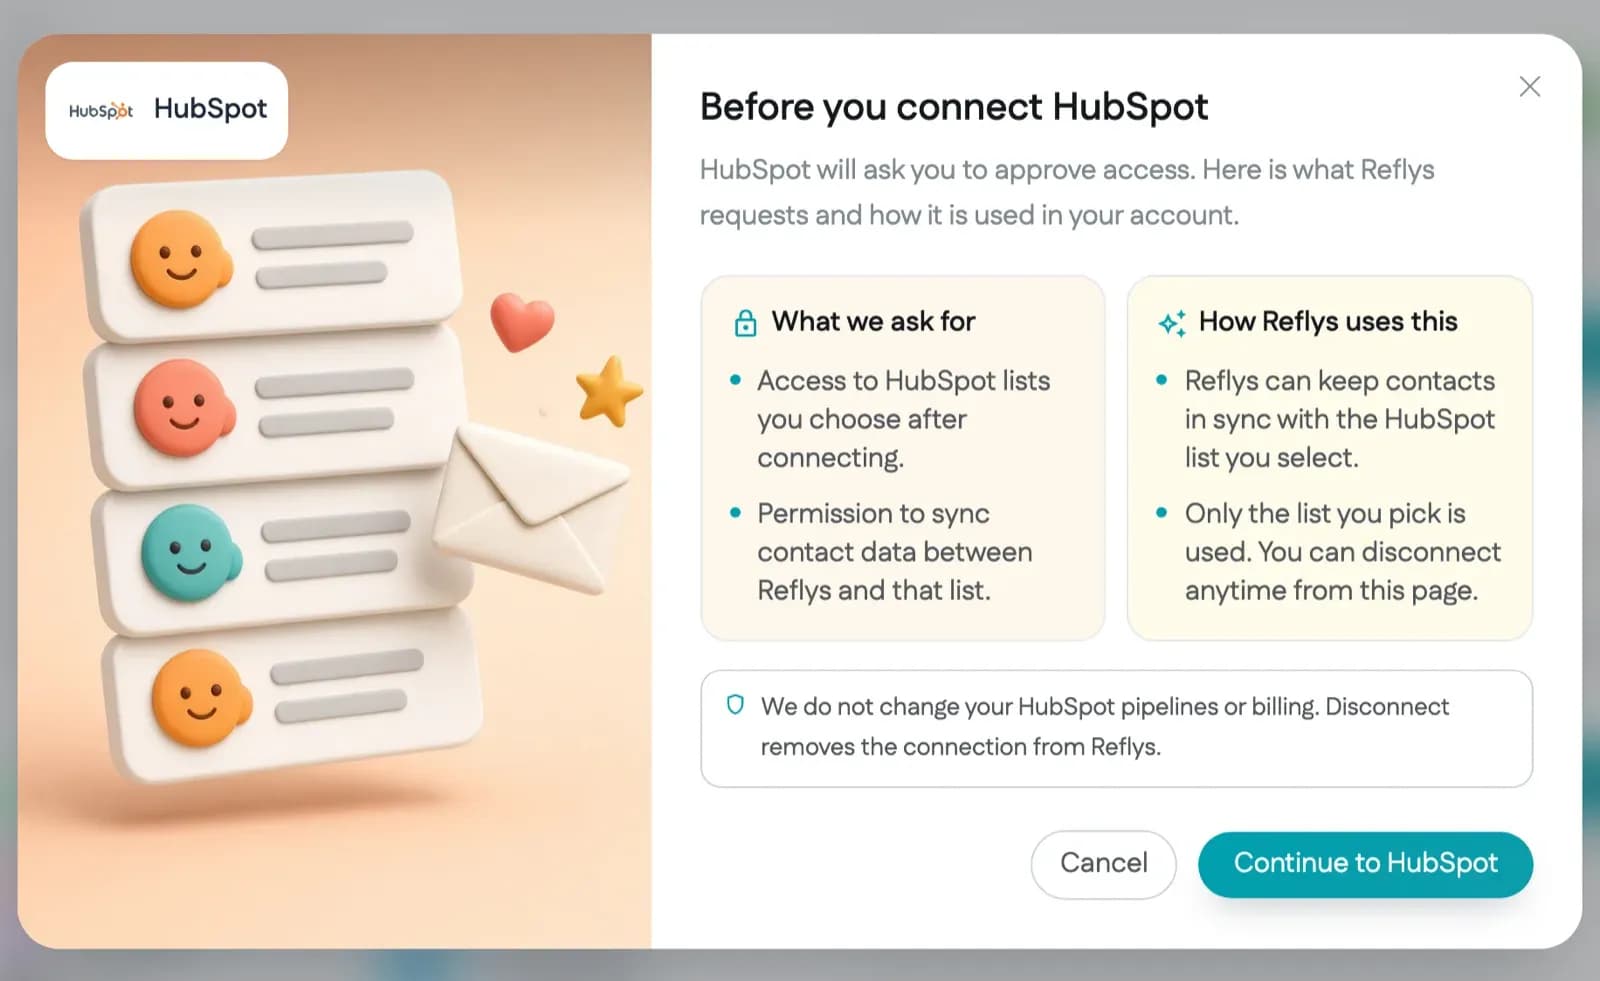
2. Click the 'Connect' button on the HubSpot card. In the Before you connect HubSpot window, click Continue to HubSpot. HubSpot opens and asks you to sign in and grant permission.
3. After you approve access, HubSpot sends you back to Reflys. Choose a list under Select List and click Save. Your HubSpot account is now connected.
What the HubSpot integration does
Reflys creates a HubSpot contact for each Reflys contact that has an email address, then adds that contact to the HubSpot list you selected. If a contact was synced before, Reflys updates the existing HubSpot record instead. These fields are sent:
- First name: the contact's name in Reflys
- Last name: the contact's username (social handle) in Reflys
- Phone, when Reflys has one
Syncing runs when a new contact is created and when a contact answers a data collection step in an automation.
Before you start
- Integrations are included in the Pro and Business plans. On a plan without integrations, the card shows an Upgrade button instead of Connect.
- You need the Owner or Admin role in Reflys. Other roles do not see the Connect and Disconnect buttons.
- A HubSpot user who can approve read and write access to contacts and lists.
- At least one list in HubSpot. After you approve access, choose it under Select List and click Save. Contacts do not sync until a list is saved.
Troubleshooting
- "This connection link wasn't started from this browser tab. Please click Connect again." Start from the Integrations page and finish the HubSpot approval in the same browser tab.
- Contacts missing in HubSpot: only contacts with an email address are sent. Also check that Enable Sync is on for the HubSpot card.
Do I need to reconnect when the HubSpot token expires?
No. Reflys refreshes the HubSpot access token automatically.